JDK INSTALLATION
SOFTWARE VERSIONS:
1) JDK : JDK-8U51-WINDOWS-I586
2) OS : WINDOWS 7 ULTIMATE[X86]
INSTALLATION PROCEDURE:
STEP 1: CHECK THE OS VERSION 32 BIT OR 64 BIT, USE THIS COMMAND “DXDIAG”
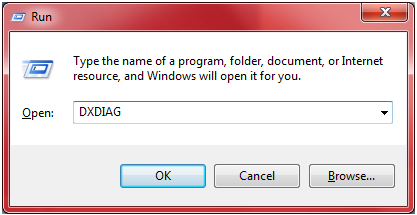
CLICK OK

SYSTEM IS 32 BIT VERSIONS.

STEP 2: DOWNLOAD THE JDK 8 VERSION FROM THIS LINK: http://www.oracle.com/technetwork/java/javase/downloads/jdk8-downloads-2133151.html

CLICK ACCEPT THE LICENSE AGREEMENT AFTER DOWNLOAD “jdk-8u51-windows-i586.exe”

STEP 3: DOWNLOAD COMPLETED AFTER JUST DOUBLE CLICK THE “jdk-8u51-windows-i586.exe” FILE TO INSTALL
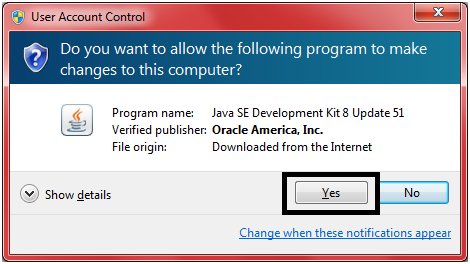
ASK USER ACCOUNT CONTROL CLICK “YES” BUTTION
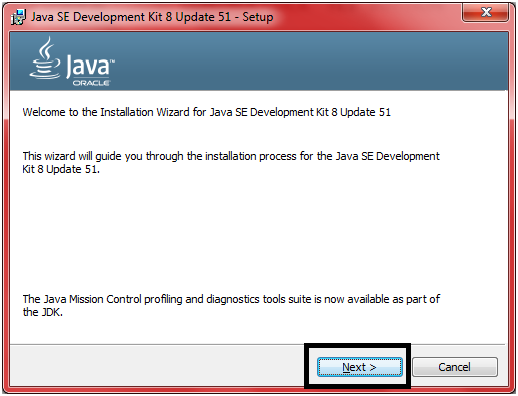
STEP 3: CLICK THE “Next>” BUTTON FOR SETUP WINDOW

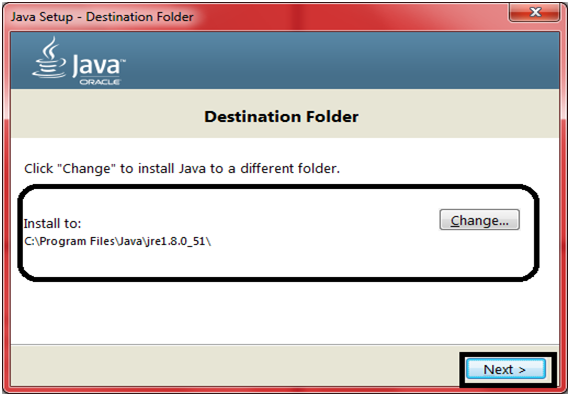
STEP 4: CLICK THE “CHANGE” BUTTON USED TO CHANGE THE CUSTOMIZE INSALLATION LOCATION TO INSTALL ELSE DEFAULT LOCATION TO INSTALL JAVA, CHOOSE INSTALLATION LOCATION AFTER CLICK “NEXT” BUTTON

INSTALLING JDK
STEP 5: JDK INSTALLATION COMPLETED AFTER ASK JRE INSTALLLATION IF YOU WANT TO CHANGE JRE INSTALLATION LOCATION CLICK “CHANGE” BUTTON ELSE CLICK “NEXT” BUTTON

INSTALLING JAVA….
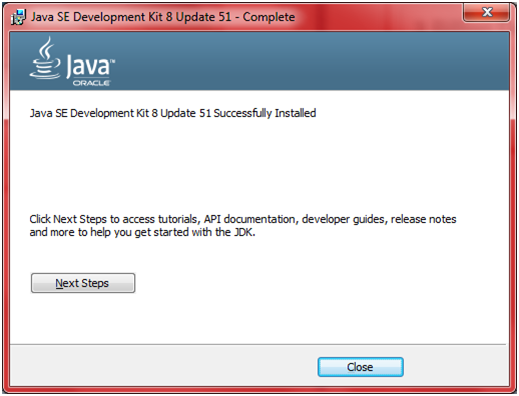
STEP 6: INSTALLATION COMPLETED AFTER CLICK “CLOSE” BUTTON
WorldWide OMNeT++ PROJECTS FOR STUDENTS

Journal Support For Paper Publication
